Your 5-Step Checklist for Sourcing Polymer Resin & Custom Molds (From a Quality Inspector)
-
Who This Checklist Is For
-
Step 1: Define Your Material Specs—Don’s Assume
-
Step 2: Check the Molding Process—It Changes Everything
-
Step 3: Inspect Quality Protocols—Before Production, Not After
-
Step 4: Use the Customer Portal Correctly—Order History Helps
-
Step 5: Price Transparency & Comparison—Include All Hidden Costs
-
Common Pitfalls to Avoid
Who This Checklist Is For
If you’re sourcing industrial thermoplastics—polypropylene, polycarbonate, HDPE, or even custom silicone molds—and you’ve ever had a batch fail because the specs weren’t tight enough, this is for you. Or if you’re comparing plastic vs polyethylene for a specific part and need to know which one actually holds up in your application, stick around.
I’m a quality and brand compliance manager. I review every deliverable before it reaches customers—roughly 200+ unique items annually. In Q1 2024 alone, I rejected 12% of first deliveries due to spec deviations. This checklist is what I wish every buyer had before they placed that first order. Honestly, it would save everyone a lot of headaches.
Here are five steps—straightforward, doable, with a few things most people miss.
Step 1: Define Your Material Specs—Don’s Assume
It’s tempting to think plastic vs polyethylene is a simple choice: one is stronger, one is cheaper, done. But the reality is more nuanced. Polyethylene (PE) comes in HDPE, LDPE, and LLDPE variants, each with different tensile strengths, UV resistance, and chemical compatibility. A part that works in HDPE may crack in LDPE under the same load.
What most people don’t realize is that “polypropylene” is about as specific as “metal.” There are homopolymers, copolymers, and filled grades. I once rejected a batch of 5,000 replacement parts because the vendor used a general-purpose homopolymer instead of the impact-modified copolymer we specified. The parts looked identical but failed in cold-temperature drop tests. That cost us $18,000 in rework (note to self: always verify material certification before production).
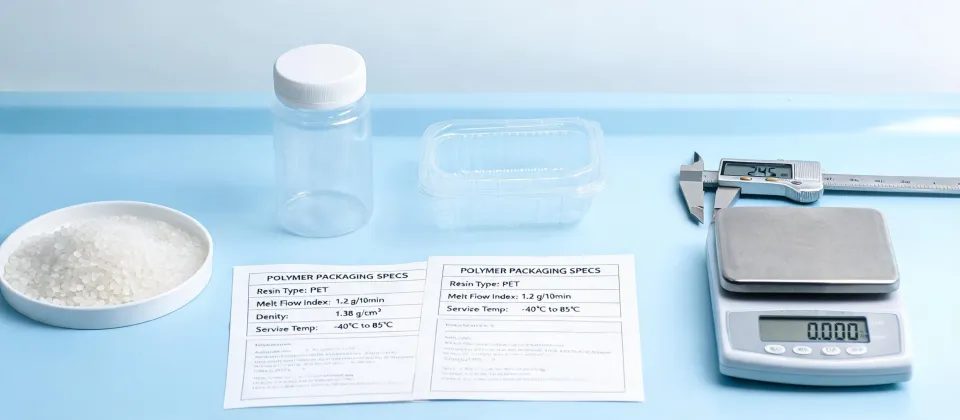
Action item: Before you source polymer resin, write down the exact grade, including any fillers (e.g., 20% glass-filled nylon). If you’re using jsp store or jsp login to browse their catalog, cross-reference the material data sheet (MDS) with your needs. Don’t just match the part number.
Step 2: Check the Molding Process—It Changes Everything
Same resin. Two different processes. Completely different outcome. Injection molding vs compression molding vs thermoforming produce parts with distinct internal stresses, dimensional tolerances, and surface finishes.
For example, custom silicone molds are often made via compression molding, which is great for complex shapes but has slower cycle times. If you need high-volume, tight-tolerance polycarbonate parts, injection molding is your go-to, but you’ll need to account for shrink rate. Most people skip verifying the process—they just assume the vendor knows what they’re doing. Well, the odds caught up with me when a vendor used compression molding for a thin-wall part that needed consistent wall thickness. The warpage was visible to the naked eye (surprise, surprise).
Action item: Ask your vendor (or check on jsp login order notes) what process they’ll use. Match it to your part’s requirements—especially if you’re switching from metal to plastic replacement.
Step 3: Inspect Quality Protocols—Before Production, Not After
Here’s something vendors won’t tell you: standard inspection plans (like AQL 1.0) allow for up to 1% defective parts. That sounds fine until 1% of your 50,000-unit run equals 500 bad parts. And those bad parts might be exactly the ones that end up in your customer’s hands.
The vendor who said “this isn’t our strength—here’s who does it better” earned my trust for everything else. But it’s better if you don’t have to ask. Lay out sampling frequency, measurement methods, and pass/fail criteria in the contract. I’ve seen contracts that say “standard quality” and then result in 8,000 units ruined in storage because the packaging didn’t meet humidity specs.
Action item: Include a clear quality clause. Reference something like: “Inspections will follow a C=0 acceptance sampling plan for critical dimensions.” If you’re importing resin, also specify packaging and shelf-life requirements. I started adding these in 2022 after a $22,000 redo—never again.
For reference: ASQ provides guidelines on sampling plans, but I’ve found that communicating directly with the vendor works best (plus, it builds trust).
Step 4: Use the Customer Portal Correctly—Order History Helps
If you’re using jsp store and jsp login, don’t just use it to place an order. Use it to track previous orders, view material certifications, and note any special instructions from past batches. This is where experienced buyers separate themselves. Because when you’re rushing a repeat order, you might think “it’s the same as last time,” but specs can change (material shortages, process tweaks). That’s the one time it matters.
In hindsight, I should have checked the order history before placing a rush order for polyurethane parts. The previous batch had a modification note that the vendor switched suppliers for the isocyanate. That change altered the hardness, but nobody documented it in the portal. I didn’t catch it until after production—lost about $4,000.
Action item: Log into jsp store (or your internal system), review past order notes, and check for any updated material data sheets or lead time changes before reordering.
Step 5: Price Transparency & Comparison—Include All Hidden Costs
If you’re only looking at unit price, you’re missing the bigger picture. Setup fees, mold amortization, rush charges, packaging, and minimum order quantities can double your total cost. Based on publicly listed pricing (as of January 2025), here’s a rough guideline—just for ballparking:
- For polymer resin (e.g., polypropylene, 55 lb bag): $0.80–$1.50 per pound (bulk), higher for specialty grades.
- Custom silicone molds (500-unit run, medium complexity): $800–$2,500 setup + $4–$10 per part (material + labor).
- Plastic replacement parts (injection molded, 1,000 units): $300–$1,000 tooling + $1–$3 per part (depending on material).
These are industry averages; always get a written quote. And don’t forget the hidden costs: if a part fails in the field, the recall cost far exceeds any savings from a cheap quote.
Action item: Build a total cost matrix: tooling + per-part cost + setup + shipping + expected defect rate. Compare across at least two vendors. If a quote seems too low, it probably is. I learned this the hard way with a $500 saving that turned into a $3,500 reorder.
Common Pitfalls to Avoid
If you take away nothing else, remember these three:
- Don’t underestimate material specs. “Polypropylene” is not “polypropylene impact copolymer.” The difference can break your product.
- Don’t assume past performance guarantees future quality. Always check the latest material cert and process notes.
- Don’t skip the contract review. A verbal agreement may work for friends, but not for a 50,000-unit production run.
Bottom line: sourcing polymer resin, custom silicone molds, or comparing plastic vs polyethylene is about details. If you follow this checklist, you’ll catch the mistakes before they cost you time and money. And if you’re using jsp store or jsp login, leverage the available data—it’s there for a reason.