How to Source Plastic Replacement Parts Fast: A 7-Step Checklist
-
Step 1: Stop Saying "Plastic"
-
Step 2: Define the Real Working Conditions — Not the Ideal Ones
-
Step 3: Match the Material to the Job (Not the Name)
-
Step 4: Decide Between Custom Molds and Machining — Before You Ask for a Quote
-
Step 5: Buy the Right Resin Form — and Check the Pellets
-
Step 6: Get a Written Materials Certificate — No Exceptions
-
Step 7: Test Before You Commit
-
When This Checklist Is Not Enough
-
The Bottom Line
This checklist is for the person who just realized they need a plastic replacement part yesterday. Maybe it's a worn-down gear on a production line. Maybe it's a custom polycarbonate mold for a client demo. Maybe you're holding a broken component and someone says, "we'll just 3D print it," but the job needs 500 units, not one.
In my role coordinating material sourcing at a manufacturing company, I've handled a lot of resin selection and rush orders. What follows is the exact checklist we use when time is short and guessing isn't an option. Seven steps. Some will seem obvious. One of them — Step 4 — gets ignored almost every time, and it's usually where projects die.
Step 1: Stop Saying "Plastic"
Before you talk to any supplier, figure out whether you're dealing with a thermoplastic or a thermoset. This is the single most important classification, and it's often skipped.
A thermoplastic softens when heated and can be remolded. A thermoset cures permanently — reheat it and it burns or degrades, but it won't flow again. The entire manufacturing process depends on this distinction. Injection molding, extrusion, and thermoforming are for thermoplastics. Most polyurethane is thermoset, which brings up the question people ask us constantly: is polyurethane a plastic? Technically yes, but it's often a reaction injection molded thermoset — not something you can re-grind and re-inject. So treat it differently from, say, polypropylene. Most of the parts we quote, honestly, are thermoplastics: polypropylene, HDPE, ABS, polycarbonate.
Checkpoint: Can you melt it and re-mold it? Thermoplastic. Does it cure and stay cured? Thermoset. If unsure, ask the supplier for a DSC (differential scanning calorimetry) data sheet.
Step 2: Define the Real Working Conditions — Not the Ideal Ones
People assume material selection starts with "what's the strongest plastic?" It doesn't. It starts with the environment the part will live in. Use this quick filter:
- Temperature: Continuous exposure above 180°F (82°C)? This rules out standard polycarbonate and most ABS. You need a high-heat grade or a different material family (like nylon or PPS).
- Chemicals: HDPE handles acids and bases well at room temperature. PC and ABS do not. One splash of a solvent can crack a polycarbonate part in seconds.
- UV exposure: Outdoor parts in Arizona versus indoor parts in Ohio? Different answer.
- Mechanical load: Static or dynamic? A chair shell and a gear tooth both get called "plastic parts." They share almost nothing else.
Write down three numbers before calling anyone: max operating temperature, max load, and what chemicals the part touches. That's it. That's the starter kit.
Step 3: Match the Material to the Job (Not the Name)
Here's where things get counterintuitive. The name on the material spec sheet matters less than the actual properties. A cheap "polycarbonate" from a no-name broker can perform completely differently from an optical-grade PC. And brands — including our own range of jsp resins — can have vastly different lot-to-lot consistency depending on the application.
Use density as a quick identification tool. It's not glamorous, but it works. Per ASTM D792, standard density tests can separate materials in minutes:
- Polypropylene (PP): ~0.90–0.92 g/cm³ — floats in water
- HDPE: ~0.94–0.96 g/cm³ — barely floats
- ABS: ~1.03–1.06 g/cm³ — sinks slowly
- Polycarbonate (PC): ~1.19–1.22 g/cm³ — sinks fast
That float test is not a substitute for a data sheet. But it's a sanity check that catches mislabeled material. And mislabeled material, in a rush order, is a disaster. I remember one project where a "polycarbonate" part failed during testing, and the float test showed it was actually acrylic. The vendor saved $2 per sheet. We lost 11 days.
Step 4: Decide Between Custom Molds and Machining — Before You Ask for a Quote
This is the step that trips up nearly everyone. Most people assume custom plastic part = custom mold = big upfront cost. But an injection mold can take 4–8 weeks and cost anywhere from $3,000 to $15,000 for a simple aluminum tool, depending on complexity. If you need 50 parts by Friday, a mold is often the wrong answer.
Before you request custom polycarbonate molds, ask yourself:
- How many parts do I actually need? Under 100? Machining or 3D printing might be faster and cheaper.
- Will the design change? Iterating on a machined prototype costs a fraction of cutting a mold revision.
- What's the true deadline? If the timeline is under 10 days, machining is usually the safer route.
If you do need a mold, pay attention to the gate location and cooling lines—these are what actually determine cycle time and part quality. A cheap mold with bad cooling will warp parts and slow production. That's the hidden cost people don't budget for.
Checkpoint: Pre-production prototype via CNC machining before committing to mold tooling. This is non-negotiable unless you enjoy paying for a mold rebuild.
Step 5: Buy the Right Resin Form — and Check the Pellets
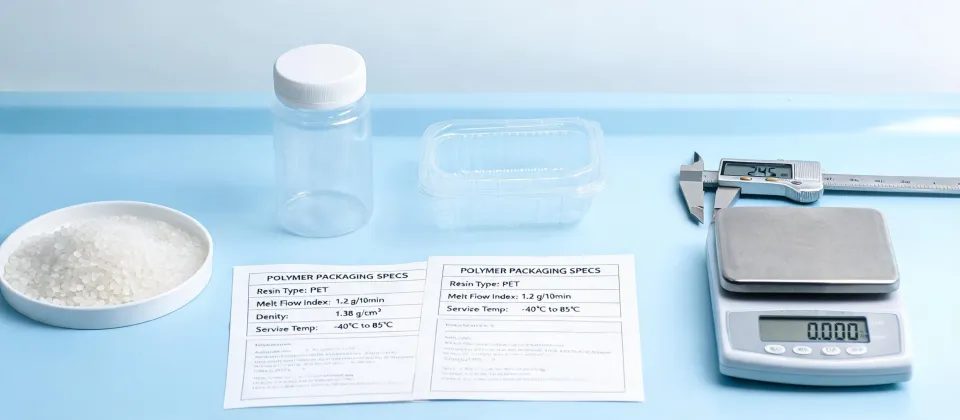
Once you've settled on a material and process, don't just order "polycarbonate." Specify the exact resin grade and request the technical data sheet before delivery. In injection molding, resin comes as plastic beads (also called pellets or granules). The pellets' consistency matters — mixed sizes, excessive dust, or inconsistent color can indicate regrind contamination.
Ask about the additive package. UV stabilizers, flame retardants, and impact modifiers change performance even within the same base polymer. A standard PC and a UV-stabilized PC look identical by name. They behave differently outdoors. This is where jsp manufacturing aftermarket plastic replacement experience becomes useful — we know which OEM materials and additive specs are actually specifiable, not just available.
Step 6: Get a Written Materials Certificate — No Exceptions
When we buy resin for a rush job, we don't accept a manufacturer's label as proof of composition. You need a certificate of analysis (COA) showing melt flow index (MFI), density, and tensile strength. For a COA, you'll need the lot number, which means buying from a reputable distributor who actually tracks this. If a vendor can't provide a COA, we won't buy. Full stop.
For testing standards, reference:
- MFI: ASTM D1238
- Tensile strength: ASTM D638
- Impact resistance: ASTM D256 (Izod)
- Density: ASTM D792
These are industry-standard, verifiable metrics. No supplier should hesitate to share them.
Step 7: Test Before You Commit
The last step is also the one people skip under deadline pressure. The "we'll fix it in production" mindset is how small problems become $10,000 write-offs. You don't need to run a full qualification, just three sanity checks:
- Test the critical dimension at room temperature.
- Heat the part to the max expected temperature — do tolerances hold?
- Subject it to the expected load for 24 hours — any cracks or creep?
One note: testing a single sample is not sufficient. If you need 500 units, test at least 5–7 samples from the first production run. Variations in material properties and mold pressure will show up. It's a tiny investment compared to a recall.
When This Checklist Is Not Enough
Here's the honest limitation of this approach: if your component is a structural safety-critical part (think medical, aerospace, or load-bearing applications), this checklist is only a starting point. You need FEA analysis, a full design failure mode and effects analysis (DFMEA), and probably a compliance engineer. Same goes for food-contact applications and anything exceeding 220°F continuous service. Don't run this on a part where failure causes injury. That's not what this process is for.
Also, if you're weighing the nuance of is polyurethane a plastic because you're considering it for a flexible coupling — please talk to a materials engineer. Polyurethane is a rabbit hole of chemistry that this article cannot solve.
The Bottom Line
After 200+ rush orders, I can tell you this: panic sourcing is expensive. But disciplined sourcing on a tight deadline is completely doable if you follow the logical order — classify, define, match, manufacture, certify, test. Skip a step and you're gambling with someone else's time. Follow the steps and you'll be surprised at how fast things can actually move.
If you're doing jsp manufacturing aftermarket plastic replacement work and have questions about your specific application, that's what our technical team handles daily. And if you've made it this far, you're the kind of person who cares about the details. That alone puts you ahead of most rush orders.